
How to Chop-off the Logo without Hurting the Teddy

Or
Crop Unwanted Part of an Image without Harming the Main Element
Well, I think both of these titles can together explain the gist of this post. Sometimes when dealing with PowerPoint, we may find ourselves stuck at some images, which have certain queer edges, making it almost impossible to crop without mutilating the main object. The image of the teddy given in the beginning of the post explains this problem well.

If we try to simply crop this image to avoid the logo (Howtodo.com is what it reads), we will find that we can do it only either incompletely or cutting away one of the legs of the teddy.

So, how can we chop off the logo without hurting the teddy?

In such cases, we can do it more effectively with some small tricks.

Just click on the image, and rotate the image by clicking and turning on the rotating handle in such a way that the logo is placed at the bottom of the image.

Now, copy the image, and using the paste special option, paste it as a PNG.

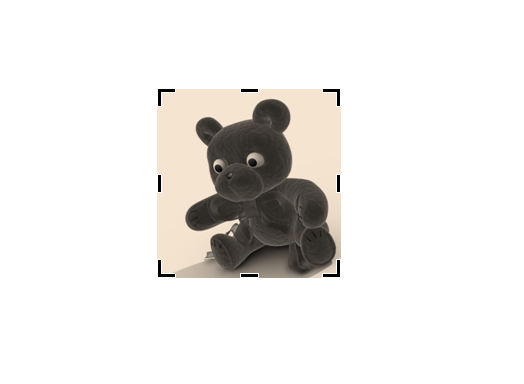
Now, try to chop off the logo using the crop tool. You will find that now it is possible to remove the logo without harming any part of the teddy bear.


Hope you like the trick.

Comments

Popular posts from this blog

Conclude Your E-Learning Modules with a Shrinking Cinematic Effect

Hey! And I am back, and this time with a simple PowerPoint effect created based on the basic animations. I think this effect can be used as an alternative method to end your e-learning tutorials with a cinematic effect while scrolling up the credit lines. The below screenr will show you the Shrinking Cinematic Effect and the steps which I used to create the effect. If you find my awkward pronunciation difficult to follow, scroll down this page further, and you will see the steps in written format with additional images.  In these following steps, I am showing you a different example. If it was Pierce Brosnan who appeared in my Screenr video, now it is the turn of Tom and Jerry. Step 1: You have the image of Tom & Jerry placed in a PowerPoint slide covering entirely the slide area. In this example, I have changed the slide background colour into black. Step 2: Copy the image, place it exactly on top of the first imag...

Write on Chalkboard Using MS Paint

Let me share you a small tip which I learned during my first months of e-learning job. This one is regarding the fonts which we use to make our e-learning courses appealing. I know there are a lot of professional as well as artistic fonts available online to be used while designing your e-learning course. Of course, some fonts look exactly like the hand written letters or the chalk-drawn ones. Here, I want to share a simple method to create chalk-written letters (or images). Apart from PowerPoint, what I use additionally to create the letters is the MS Paint version available with Windows 7. You can use the image of a chalk board in PowerPoint seen as below. You can browse the image of a chalkboard from net or you can find one in the PowerPoint's clip arts section itself. If you don’t have the chalk-written fonts installed on your computer, try doing the steps which are described below. Open your MS Paint (Windows 7) and manage some blank white space. Select the Brushes from t...

The Touch Screen Effect in PowerPoint

I am sure you all are very much familiar with the touch screen feature that comes along with latest cell phones those are having in built touch technology. I often am fancied by it when it comes to the image galleries. Mimicking the touch screen animation of image galleries, I have created something similar in PowerPoint. The powerpoint animation needs some basic animations, and I have elaborated the method with the help of a Screenr video. You can also download the powerpoint file by clicking here .